Receiving this faucet has instigated an enormous project. I had initially planned to just replace the faucet in my master bathroom. Only, I am a huge dummy and failed to look under the counter…
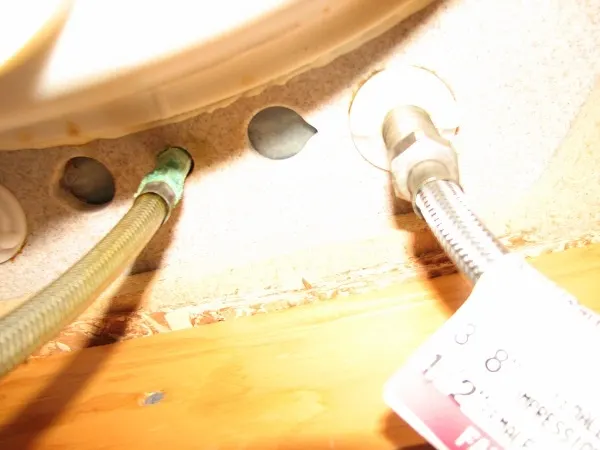
You’ll notice that there are FIVE holes drilled into this counter top. 🙁 So, I have the option of replacing the counter, or putting the faucet—the Sonora Two Handle, widespread in Brushed Nickle (D304554BN)— I received for review into a different bathroom. I chose the latter.
This bathroom has been haunting me for months. It’s one of those projects I would just like to pretend doesn’t exist. But, I have acknowledged the task thanks to this review opportunity and have begun tackling this remodeling project. So far, as with most DIY remodel projects in my home, there has been some hideous problem every step of the way. :/
Okay, so this bathroom is first and foremost, ugly. You can see in the reflection that there is a very old green tub with pink tile on one side of the room. I have no idea how to even work with that. So for now, I am just attacking this half of the room, in hopes that I will be able to get a pretty claw foot tub to eventually replace the existing one.
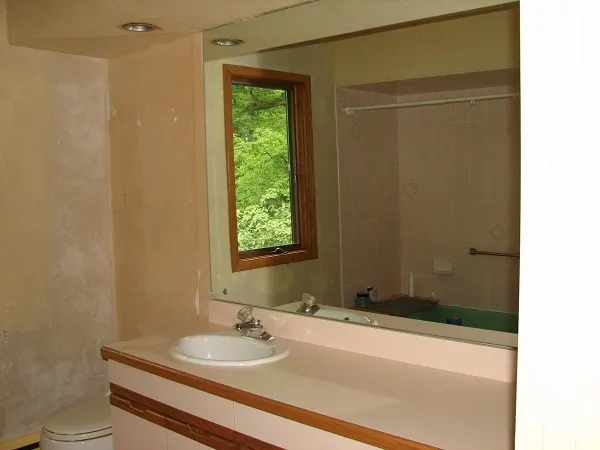
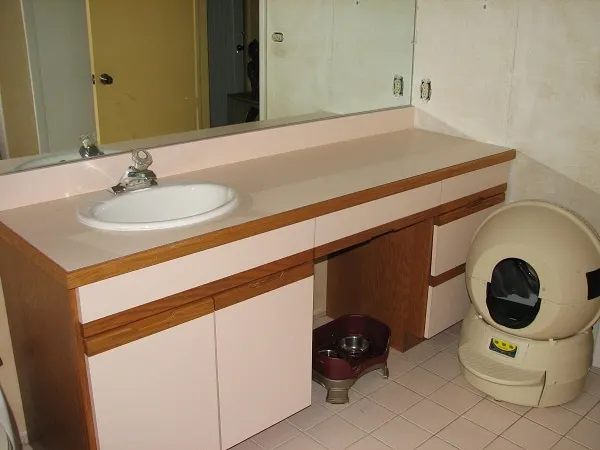
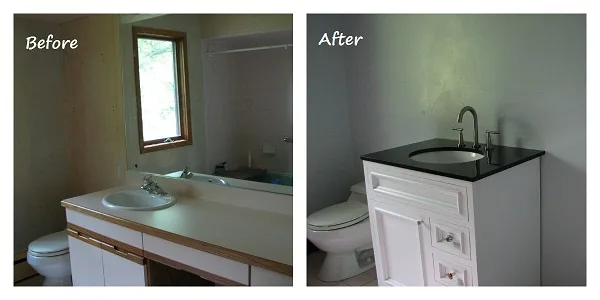
So, I have to 1. get rid of the old cracking wall mirror 2. remove gross vanity 3. remove what’s left of the wallpaper 4. paint walls 5. install new vanity and faucet. There are many more steps to follow, but for now this is as far as I’ve gotten.
Because this mirror is cracking from behind, removal isn’t too stressful. If I were trying to get it off the wall without breaking it, that would be awful. But because it’s garbage anyway, I am just going to break it off the wall.
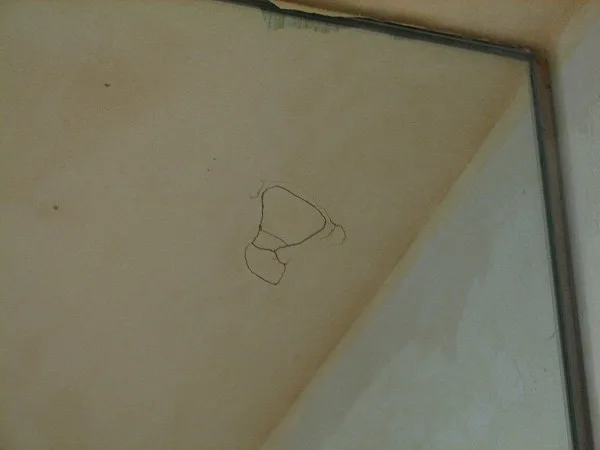
In the picture below, you can see that it is cracking where the adhesive meets the back of the glass. This is happening all over the mirror.
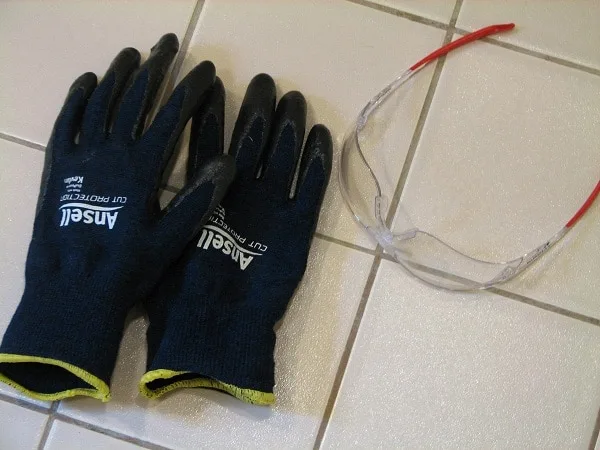
Now, I’ve never had to do this before, so I put on what looked like a Haz-Mat suit and some other safety items.
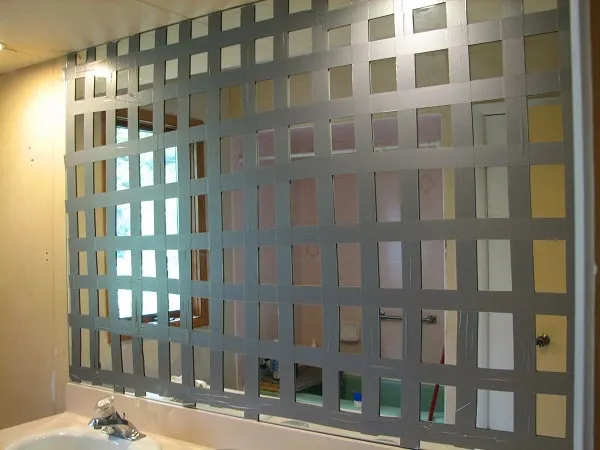
I decided I didn’t want the entire mirror to come crumbling down on top of me so I put duct tape all over it in a grid-like pattern.
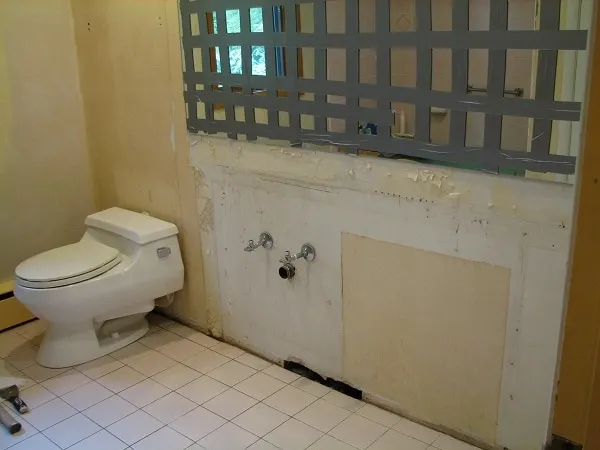
I then decided I better get the vanity out of the way before smashing the mirror.
I wish I would have gotten video of me trying to break this mirror. I was so scared. It was ridiculous. At first I was really a total wuss about it and just sort of tapped it with a hammer. When nothing happened I got a little braver. (It just figures—if I weren’t trying to break it, it would have shattered, but because I’m actually trying to destroy it, it’s freaking indestructible.) But in the end, it took a guy to help me. 🙁 I called in reinforcements and Ben and I got the job done. It was such a mess. Tiny shards of glass were everywhere. It took sweeping, vacuuming and hand washing (in that order) about four times to get it all up. But the duct tape did keep large pieces from falling and shattered even more.
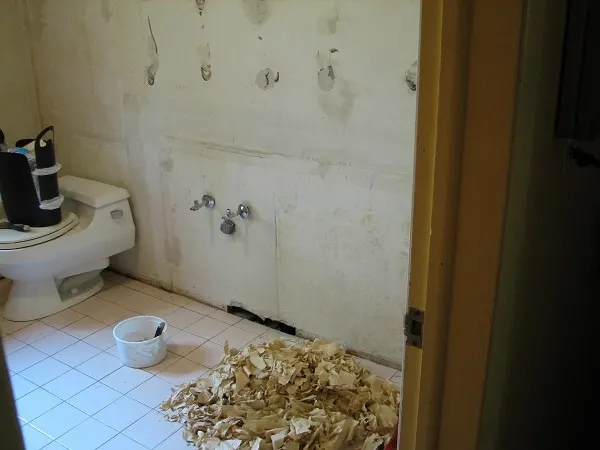
Now that the mirror is off the wall, we had to scrape what was left of the adhesive and repair the wall; which turns out is plaster. I didn’t know that! 🙁 So instead of sanding the walls until I create a small desert, I decided I’m going to just go with that look. I purchased Venetian Plaster. So, now I don’t have to worry too much about the walls looking flawless because they will be textured. But that wallpaper does have to come down… that seriously felt like it took 100 years. I used Dif and followed all the instructions but I think because that wallpaper was like a million years old, it just didn’t want to come down. It came off one tiny little piece at a time…
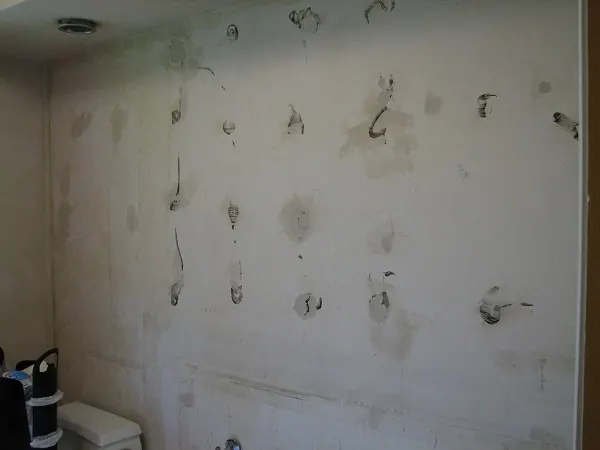
I went ahead and slapped up the Venetian Plaster creating a textured look, only to discover I hate the color. So I found a pain color I like and painted over it. (I’m so fed up at this point that I forgot to take pics. My apologies.)
But now that the room is painted/plastered, I am ready to install my new vanity with under-mount sink and new faucet! FINALLY! 😀
After taking the faucet out the box, I realized I need help. The instructions were fairly easy to follow but I need an extra set of strong hands to get the job done.
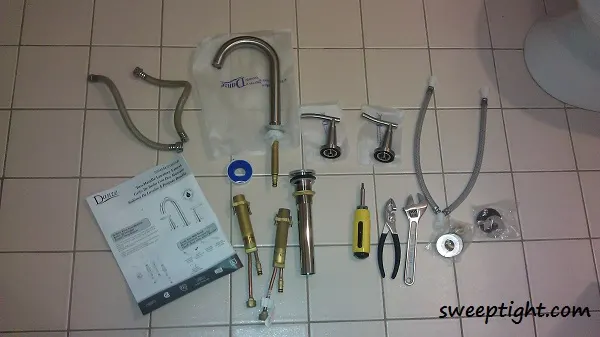
I’ll spare you all the details of how many other problems we came across–this is an older home–need I say more?
I still have a lot to do in the room, but this faucet is gorgeous!
Danze Faucet
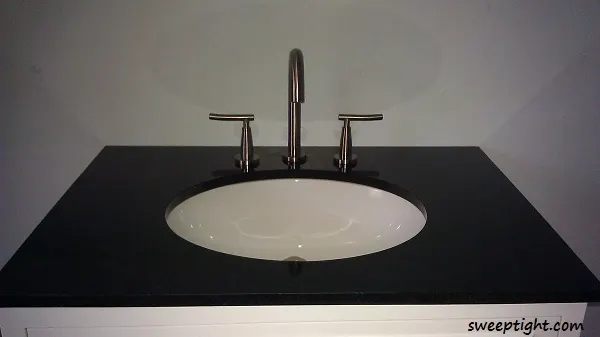
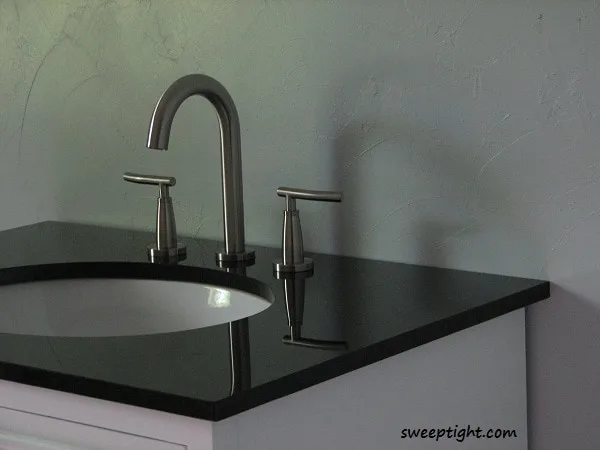
My favorite part is probably the drain. You just push it like a button and it pops up to drain or pushes in to fill. The handles are extremely smooth and glide easily on and off.

Marcy Strahan
Monday 25th of June 2012
Optimizes water intensity even at low pressure
mary gardner
Monday 25th of June 2012
i like that it has 40 easy clean jets
jagar0047 at yahoo dot com
Veronica Garrett
Monday 25th of June 2012
I love the 40 Easy Clean Jets.
Angela W.
Monday 25th of June 2012
Pressure Manifold™ & Air Injection Technology
Lily Kwan
Monday 25th of June 2012
The feature I like best is the 40 easy clean jets.