
Now that I am back to school full time, I am always on the hunt for a simple lunch recipe that doesn’t demand too much time or expense. I don’t have a lot of time in the morning to be preparing fancy lunches for any of us. This post contains affiliate links.
Back to School
It has come to my attention that the kids only have like fifteen minutes to eat lunch so I HAVE to make them something to eat. If they buy a school lunch, at least ten minutes of that time is spent standing in line, leaving them no time to actually eat. As a result, their tummies are all jammed up.
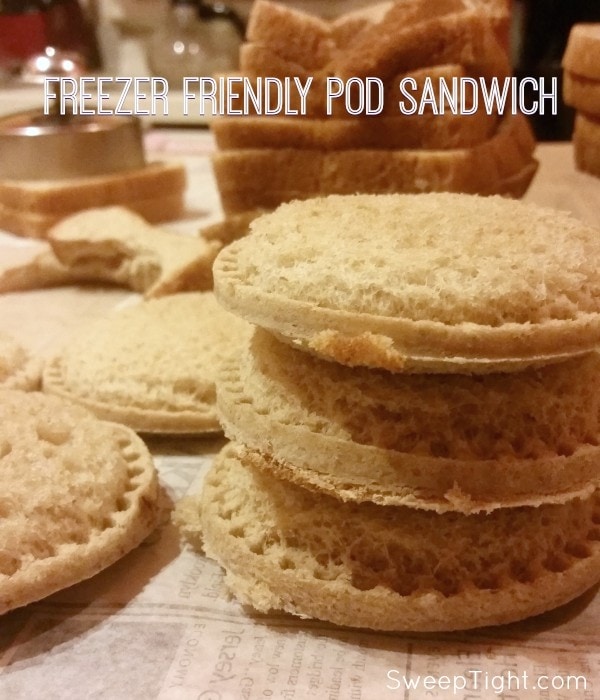

After trying Smucker’s Uncrustables, I was determined to make my own version of this Pod Sandwich. I realize this is just a slight twist on the classic PB & J, however, with healthier ingredients and a fun shape, we are all happy. I also started freezing grapes to put in our lunches.
My problems:
- Constipated Kids 🙁
- Tight Budget
- Time Crunch

My solution:
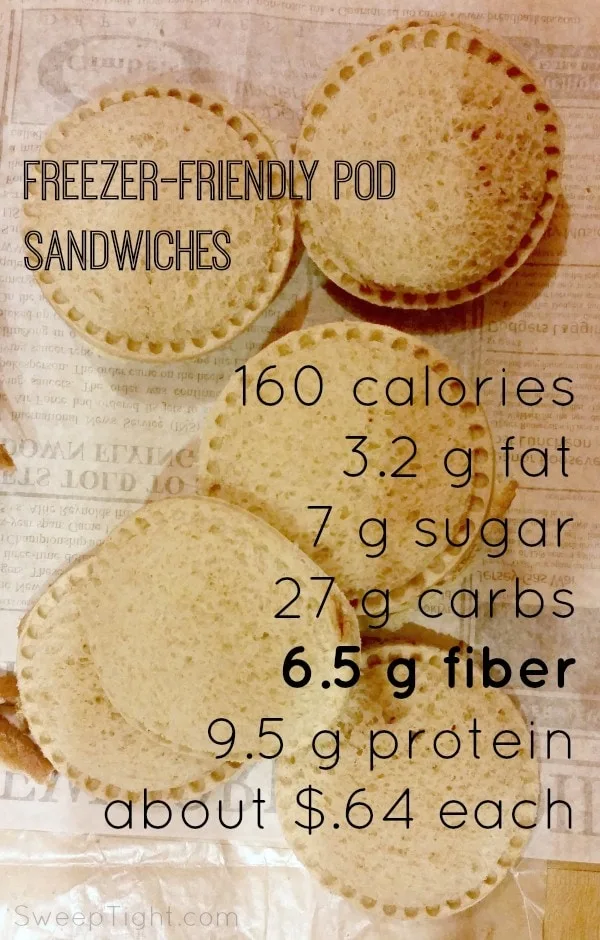
- These are high in fiber (6.5 grams per pod)
- Cost about $.64/Pod
- Quick and Easy to make and eat


Pod Sandwich Recipe
I usually make about a dozen of the pod sandwiches at a time. (Just multiply this recipe accordingly for however many you’d like to make.) They freeze perfectly. From the freezer I put them in the kids’ lunches in the morning and they are just right by lunchtime.


Step 1: Prepare your PB2 by mixing it with the water. Add more or less water until you get the desired consistency.
Step 2: Spread PB2 on both slices of bread in the area that will be inside the pod. I just eye it in, but if you’d like to be really accurate, you can gently press the sandwich sealer into the bread to give yourself an outline. Note: I find that getting a little PB2 onto the edges is fine—it almost serves as glue—I just make sure to keep the fruit spread within the boundary.


Step 3: Spoon the Strawberry Spread into the middle of the PB2 on one of the slices. Note: having the PB2 on both slices of the bread prevents the fruit spread from making the bread soggy.


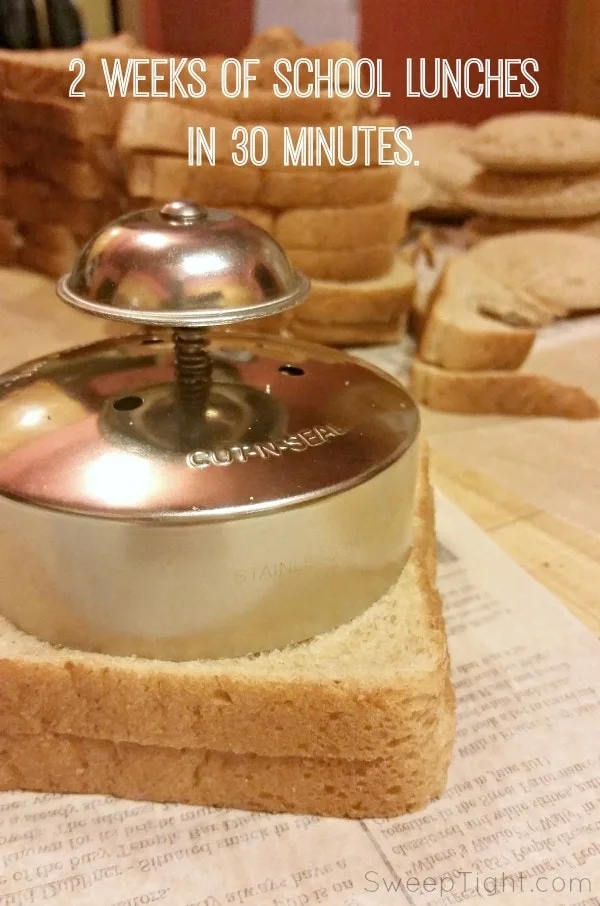
Step 4: Sandwich slices together and use the sandwich sealer…


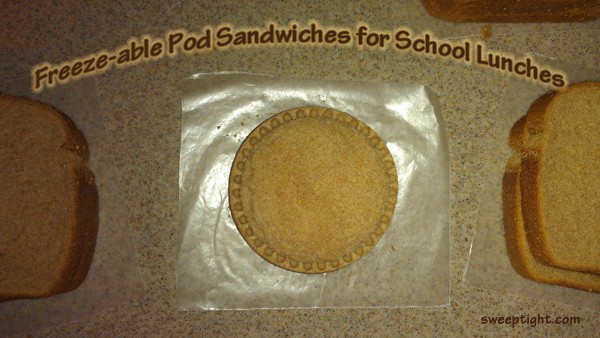
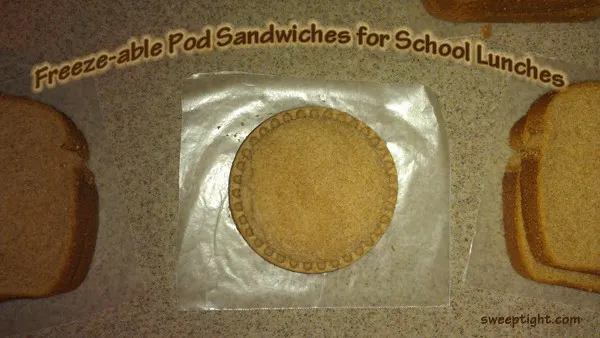
Step 5: Use wax paper in between if stacking multiple pods for freezing. Place in freezer bag squeezing as much air out as possible without squishing the pods. Freeze. Allow 4-6 hours to thaw at room temperature. Do not thaw in refrigerator.


Waste NOT
Very little goes to waste with these fun little pods. We use our LunchBlox to avoid wasting plastic baggies… and the crusts, well, we have a lot of fun with those. We either cut them up into cubes and dip in cheese for a Fondue Fun Night, or treat the squirrels while entertaining the cat.
We have a blast hanging these crusts from the trees much like ornaments. Watching the squirrels reach, jump and swing to get them is hilarious. Even better is watching the cat watch the squirrels through the window. Even the deer have been known to stop by for a snack.


DIY Pod Sandwich Recipe Perfect for Back to School
Great for back to school lunches, these DIY pod sandwiches are easy and fun to make. Make ahead and freeze to get pods ready for the week.
Ingredients
- 2 slices Brownberry Extra Fiber Bread
- 2 Tbsp PB2
- 1.25 Tbsp Water
- 1 tsp Strawberry Spread, Kirkland Signature Organic
Instructions
- Using the Pampered Chef Cut-N-Seal, gently indent the area of the bread needing filing.
- Mix PB2 with water.
- Spread 1 Tbsp of PB2 on one side of EACH slice inside the circle area.
- Spoon the Strawberry Spread onto the PB2.
- Sandwich the slices together.
- Align the Cut-N-Seal over the sandwich and press down and seal.
- Place in freezer bags placing wax paper in between multiple pods.
- In the morning, grab one and it’s thawed and ready by lunchtime!
Nutrition Information:
Yield:
1Serving Size:
1 podAmount Per Serving: Calories: 161Total Fat: 3gSaturated Fat: 0gTrans Fat: 0gUnsaturated Fat: 1gCholesterol: 0mgSodium: 245mgCarbohydrates: 25gFiber: 2gSugar: 7gProtein: 9g
Nutrition facts are an estimate only.
Brett
Monday 7th of July 2014
That's such a creative way to use up the crusts. The kids loved the store bought ones - we'll have to try making them homemade ourselves.
Tesa @ 2 Wired 2 Tired
Thursday 30th of August 2012
They look just like the store bought ones! I'd love to try these at home sometime. My kids would be thrilled!
Amber Edwards
Thursday 30th of August 2012
I love the tree! Especially the Deer there as well! I would have a hard time waisting the crusts, so definitely loving the tree ideas. I'm not sure if I could get the kids to eat the crust afterwards, they are quite picky. So thanks for the alternative methods!
Dawn
Thursday 30th of August 2012
I love that you hung the crusts from the trees! How freaking cool! I love squirrels and have a backyard similar to yours. I am definitely going to try this!
Dawn
Quida
Thursday 30th of August 2012
What a wonderful share. I absolutely love it. I laughed when I saw the bread rings in the trees. It definitely reminded me of how I recycle for the birds, squirrels and rabbits that appear in my back yard. Thanks for sharing and who do you know sells the pampered chef item to shape the sandwiches? Let me know.
Shelley
Thursday 30th of August 2012
Yes! Thank you for asking! :) I updated the link to the product above to her go to her site where you can make a purchase or you can contact Gina via email: gmillergang [at] aol [dot] com